

What Is a Tar and Rock Roof — and Should You Be Worried About Yours?
A tar and rock roof is one of the oldest and most proven flat roofing systems used on commercial buildings across the United States. If you manage a commercial property in Wisconsin, you may already have one — and you may be wondering whether it’s still holding up against the region’s brutal freeze-thaw cycles.
Here’s a quick breakdown of what you need to know:
| Question | Quick Answer |
|---|---|
| What is it? | A built-up roofing (BUR) system made of alternating layers of felt or fiberglass and hot-applied bitumen, topped with gravel |
| How long does it last? | 20 to 30 years with proper maintenance; up to 40 years in ideal conditions |
| What does it cost to install? | Roughly $3 to $10 per square foot depending on the number of plies and location |
| Can it be repaired? | Yes — small cracks, blisters, and gravel loss are all repairable |
| When should you replace it? | When repair costs exceed 50% of replacement cost, or when leaks are recurring and widespread |
These roofs have protected commercial buildings for over 100 years. But they do require attention — especially as they age, as Wisconsin winters push and pull the layers through repeated thermal stress.
This guide walks you through how to waterproof and seal a tar and rock roof, what warning signs to watch for, and how to get the most life out of your existing system before considering a full replacement.
I’m Josh Yutzy, and my family’s company has been installing and restoring commercial roofing systems across Wisconsin since 1995 — including countless tar and rock roof systems that needed new life without a costly tear-off. Let’s get into what actually works.
Understanding the Construction of a Tar and Rock Roof
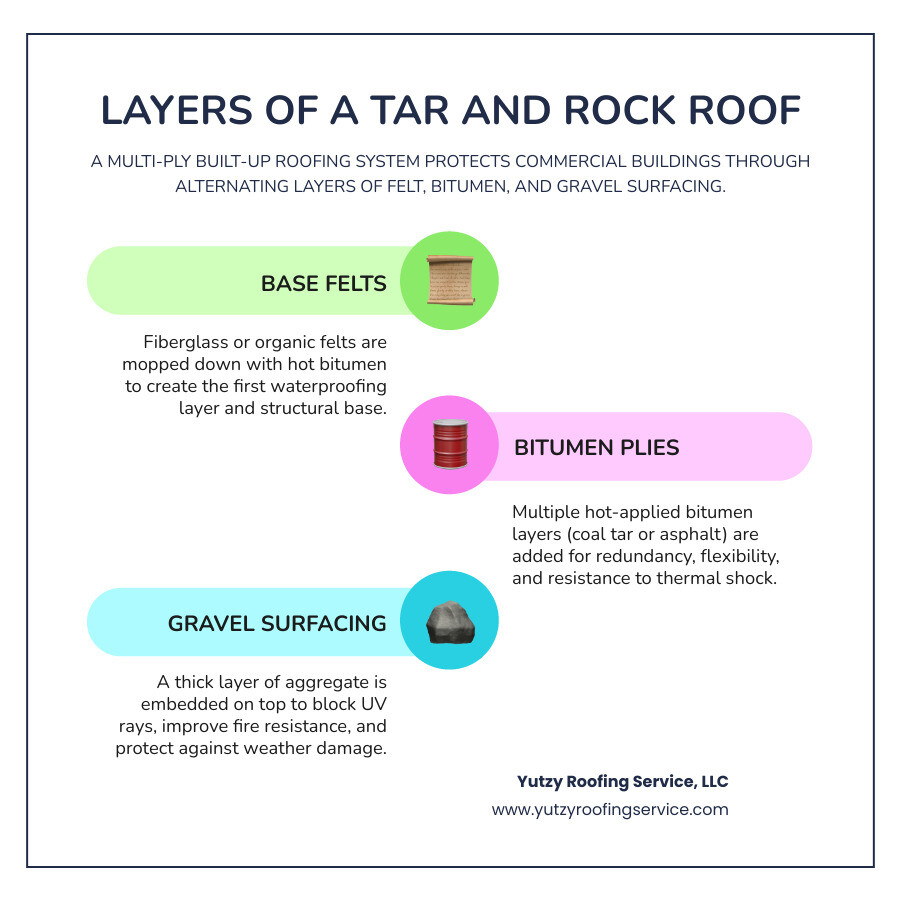
To properly waterproof a tar and rock roof, we first have to understand the “sandwich” of materials we are dealing with. Officially known as a Built-Up Roof (BUR), these systems are constructed by layering bitumen (the “tar”) with reinforcing fabrics (the “felts”).
The Layers of Protection
The process usually starts with a base sheet attached to the roof deck. From there, we apply layers of hot-mopped bitumen. This bitumen can be either asphalt or coal tar pitch.
Coal tar pitch roofing has a fascinating history; it’s a byproduct of coke production and is incredibly resilient against ponding water. In fact, coal tar pitch has “self-healing” properties, meaning it remains slightly fluid at room temperature and can actually close up small cracks on its own. However, most modern systems use asphalt-based bitumen because it is easier to handle and has less of the pungent, smoky odor associated with coal tar.
Between the moppings of hot bitumen, we lay ply sheets made of fiberglass or organic felts. These provide the structural “skeleton” of the roof. A standard commercial system might have three, four, or even five plies. As you might guess, a five-ply system is much more durable (and heavy) than a three-ply system.
The Role of the “Rock”
The final layer is a flood coat of bitumen followed by a heavy application of gravel or slag. This isn’t just for looks. The rocks serve three vital purposes:
- UV Protection: Bitumen is highly sensitive to the sun. Without the rocks, the UV rays would bake the oils out of the tar, making it brittle and prone to cracking within just a few years.
- Fire Resistance: A thick layer of gravel provides a natural fire-retardant barrier, often helping the building achieve a Class A fire rating.
- Weight and Stability: The gravel helps hold the layers down against wind uplift.
However, this protection comes with a literal weight. A tar and rock roof can weigh between 10 and 25 pounds per square foot. If you are considering a new installation or a restoration, we always check to ensure the building’s structure can handle that load. For a deeper dive into the financial side of these systems, check out The Price of Protection: A Complete Hot Tar Roofing Cost Breakdown.
Common Issues: Why Your Tar and Rock Roof Might Leak
In places like Madison, Wausau, and Eau Claire, our roofs take a beating. The constant shift from negative temperatures in January to the humid heat of July causes the materials to expand and contract. This “thermal shock” is the primary enemy of a tar and rock roof.
The 48-Hour Ponding Rule
Flat roofs are rarely perfectly flat; they are designed with a slight slope to move water toward drains. When water sits on a roof for more than 48 hours, it is officially considered “ponding water.” This is a major issue because standing water accelerates the breakdown of asphalt and can eventually seep through microscopic imperfections in the layers.
Alligatoring and Blisters
As the roof ages and the protective oils evaporate, the surface begins to look like the hide of an alligator. This “alligatoring” is a sign that the bitumen is becoming brittle.
Blisters are another common headache. These are bubbles caused by “vapor drive”—essentially, moisture gets trapped between the layers during installation or through a tiny leak. When the sun heats the roof, that moisture turns to steam, expands, and pushes the layers apart. If you step on one of these and it “pops,” you’ve just created a direct path for water to enter your building.
Gravel Displacement and Edge Failures
Wind and heavy rain can move the gravel around, leaving “bald spots.” These spots are highly vulnerable to UV damage. Additionally, we often see failures at the edges and penetrations (like vents and chimneys). If the “gravel stop” (the metal edge) becomes loose or the flashing pulls away from a wall, water will find its way underneath the membrane.
For more tips on identifying these problems early, take a look at A Complete Guide to Maintaining an Asphalt and Gravel Roof Without Losing Your Mind.
Step-by-Step Guide to Waterproofing and Sealing
If your tar and rock roof is still structurally sound but starting to show its age, you don’t necessarily need to rip it off. Restoration and sealing can save you thousands of dollars while extending the roof’s life by a decade or more. Here is how we approach the process in May 2026.
1. Surface Preparation and “Spudding”
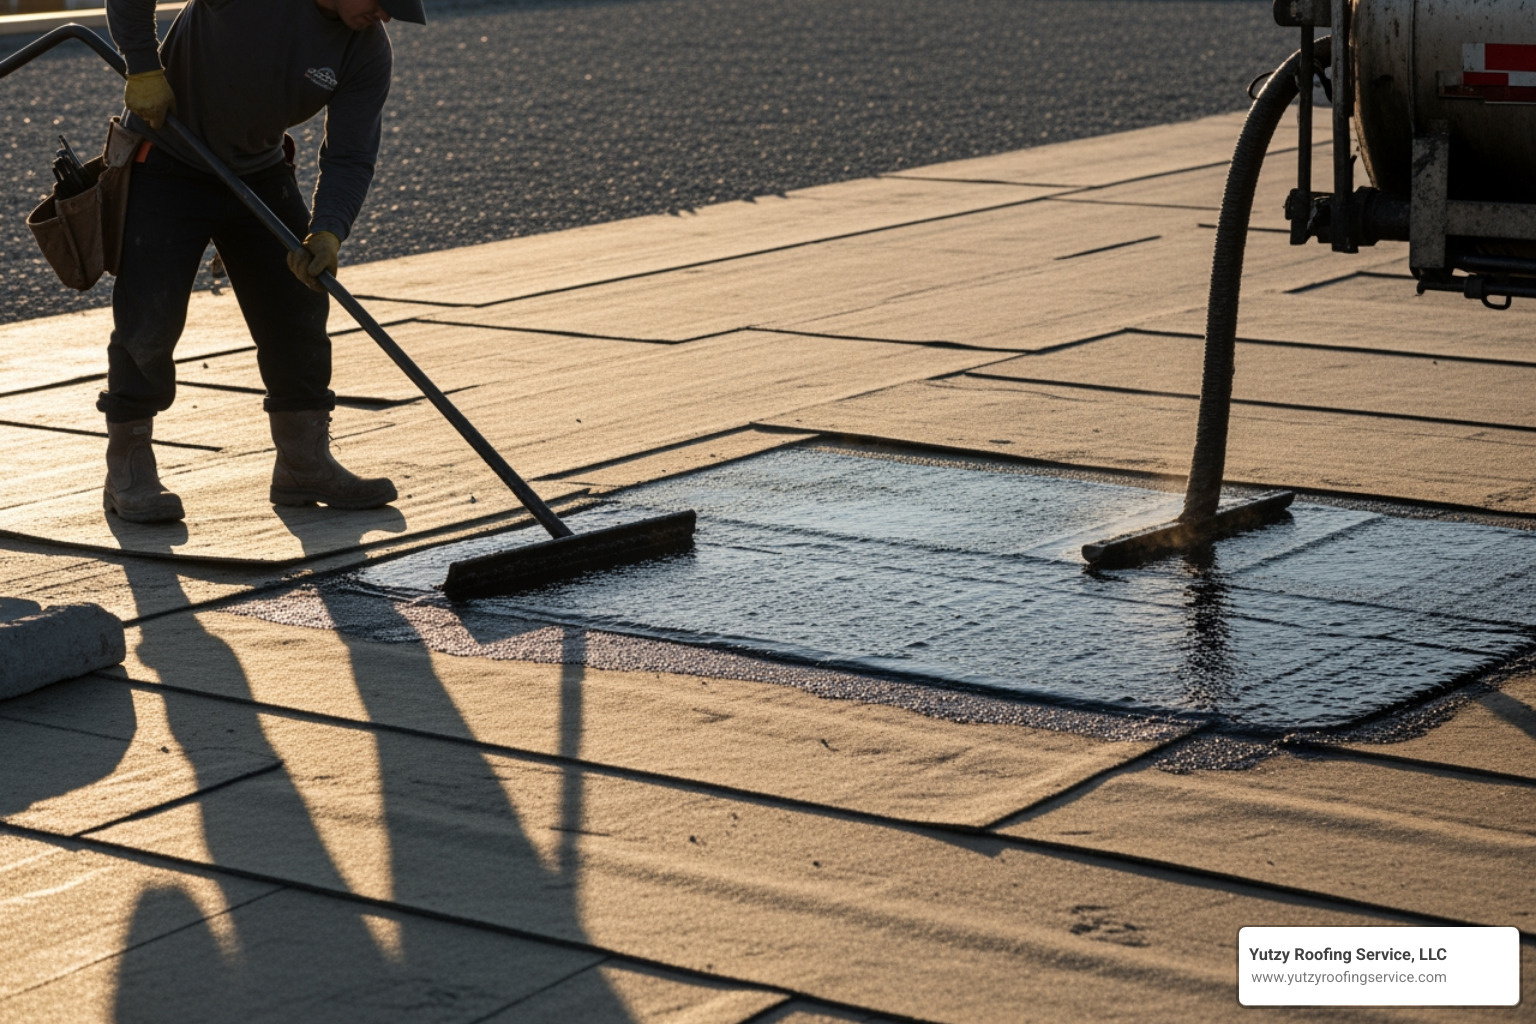
You can’t seal a roof if it’s covered in rocks and dirt. The first step is “spudding,” which involves using a specialized tool to scrape away the loose gravel and the top layer of bitumen in the areas that need repair. We then use high-powered blowers and vacuums to remove all debris. The surface must be bone-dry and clean for any new sealant to stick.
2. Repairing the Membrane
Before the final seal, we have to fix the existing damage. This usually involves a “three-course repair”:
- Apply a layer of roofing mastic or cold-applied adhesive.
- Embed a layer of reinforcement fabric (like polyester or fiberglass mesh).
- Apply a final top-coat of mastic.
This creates a reinforced patch that is often stronger than the original roof. We pay special attention to “high nails” or fasteners that have backed out due to the building’s movement.
3. Applying the Sealant or Coating
Modern technology has given us incredible options for waterproofing. Instead of just dumping more hot tar, we often use elastomeric coatings. These are liquid-applied membranes that stay flexible even in Wisconsin’s sub-zero winters.
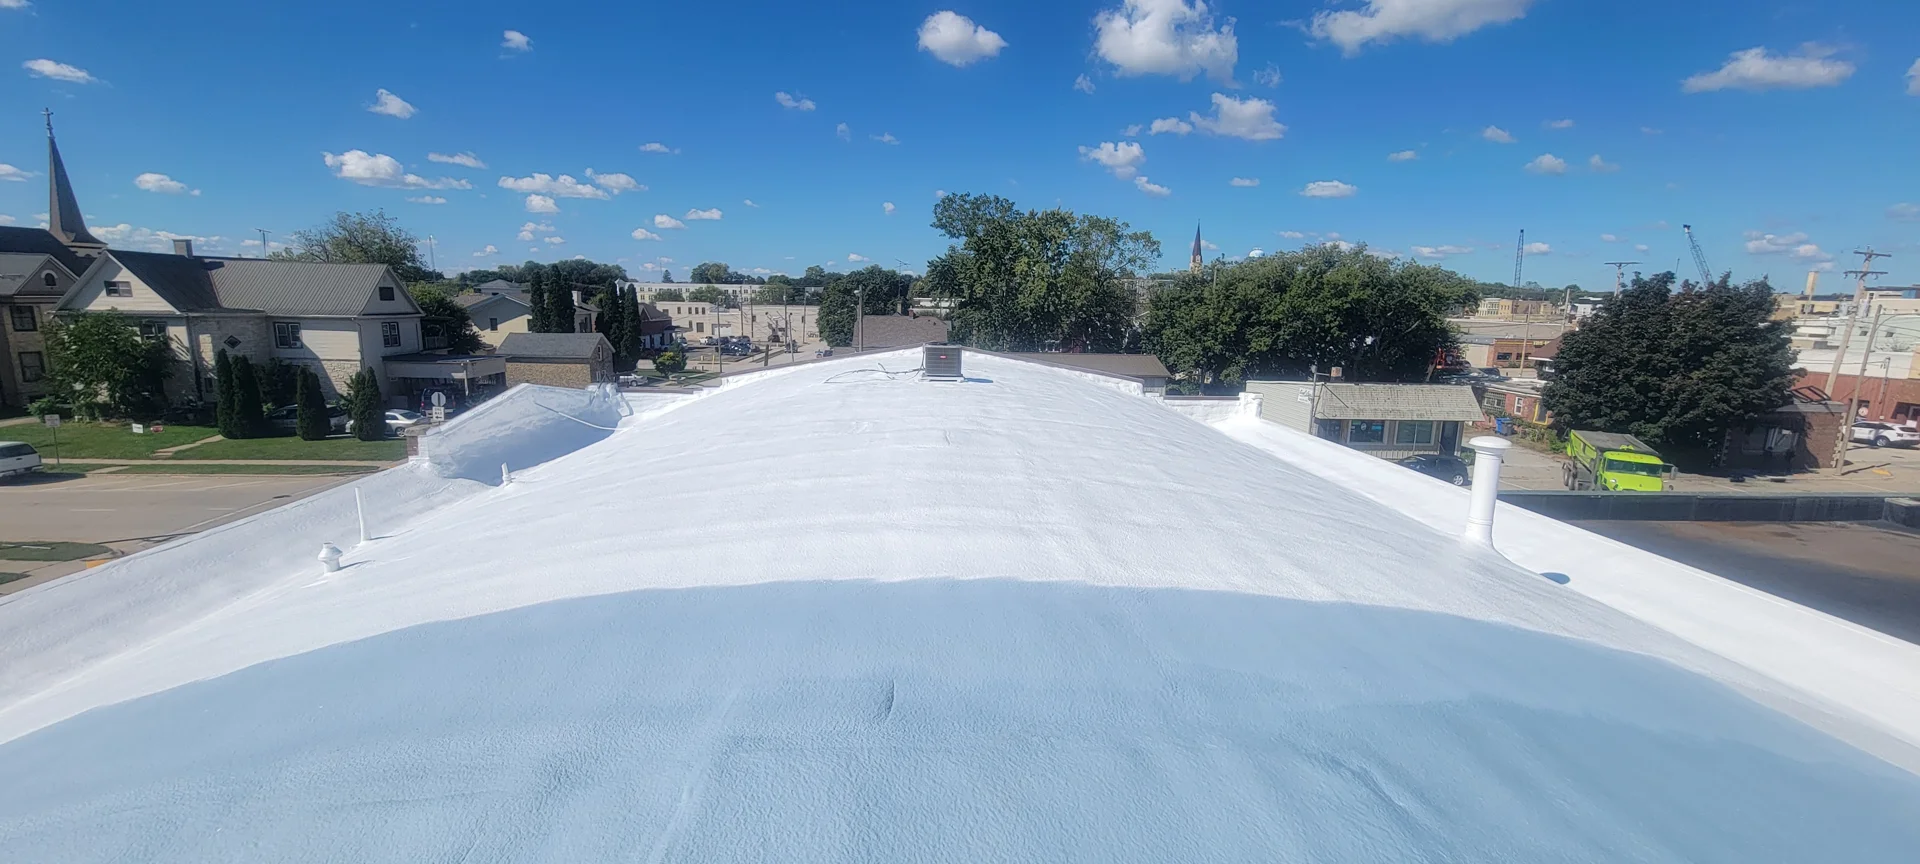
We prefer high-solids silicone or acrylic coatings because they don’t just waterproof; they also reflect the sun. This “cool roof” technology can significantly lower your cooling costs during the summer. When we apply these, we ensure we follow all VOC (Volatile Organic Compound) safety regulations to protect both our crew and your employees. You can learn more about the chemical makeup of these materials in this guide on what roofing tar is made of.
4. Re-Graveling (Optional)
If we aren’t using a reflective coating, we will apply a new flood coat of bitumen and redistribute the gravel. This ensures the new waterproofing layers are protected from the sun. For a detailed maintenance checklist, see our article on how to maintain a tar and gravel roof.
Maintenance Strategies for Commercial Systems
A tar and rock roof is not a “set it and forget it” system. Because it is made of organic and petroleum-based materials, it requires a little love to reach that 30- or 40-year milestone.
Routine Inspections for Your Tar and Rock Roof
We recommend a biannual inspection schedule — once in the spring to see how the roof handled the snow, and once in the fall to prepare for the coming winter.
During these inspections, we focus on:
- Drainage: Clearing leaves, trash, and loose gravel from scuppers and internal drains. A clogged drain is the fastest way to cause a structural failure.
- Gravel Coverage: Checking for bald spots and redistributing the rock to ensure even UV protection.
- Flashings: Inspecting the metal work around the perimeter and HVAC units. If the caulk is cracked, we reseal it immediately.
You can find more specific advice on our tar and gravel roof tag page.
Extending the Life of a Tar and Rock Roof
Beyond simple cleaning, there are proactive steps you can take:
- Reflective Coatings: As mentioned, these can turn a standard BUR into a “cool roof.”
- Walk Pads: If your maintenance crew is constantly walking on the roof to service HVAC units, we install rubber walk pads. This prevents the gravel from being ground into the membrane, which is a common cause of leaks.
- Moisture Surveys: We use infrared thermography to “see” inside the roof. This allows us to find trapped moisture before it turns into a major leak or a massive blister.
Repair vs. Replacement: Costs and Modern Alternatives
Eventually, every roof reaches the end of its road. The big question is: do you repair it again, restore it with a coating, or replace it entirely?
The 50% Rule
A good rule of thumb in the industry is the “50% Rule.” If the cost of repairs exceeds 50% of the cost of a new roof, or if more than 25% of the roof insulation is saturated with water, it’s time to talk about replacement.
Cost Comparisons
Installing a new tar and rock roof in 2026 typically costs between $4.00 and $10.00 per square foot. However, labor accounts for 60% to 70% of that cost because BUR systems are incredibly labor-intensive.
Here is how BUR stacks up against modern alternatives:
| System | Avg. Cost / Sq. Ft. | Lifespan | Pros | Cons |
|---|---|---|---|---|
| Tar & Rock (BUR) | $4 – $10 | 20-30 Years | Extremely rugged, fire-resistant | Very heavy, messy install |
| TPO Membrane | $5 – $9 | 15-25 Years | Highly reflective, lightweight | Seams can fail if poorly welded |
| EPDM (Rubber) | $4 – $8 | 20-25 Years | Great for cold climates | Absorbs heat (black surface) |
| Spray Foam (SPF) | $4 – $7 | 20+ Years | Seamless, incredible insulation | Requires skilled application |
Modern Replacement Options
If we do a full tear-off, we often replace the old system with a TPO or EPDM membrane. These are much lighter and allow us to install high-R-value polyisocyanurate insulation, which can drastically improve your building’s energy efficiency. In some cases, we can even install a new membrane directly over the old BUR system (if there’s only one layer), which saves you the massive expense of tear-off and disposal.
Frequently Asked Questions about Tar and Rock Roofs
How long does a tar and rock roof typically last?
With proper maintenance, a 4-ply or 5-ply tar and rock roof typically lasts 20 to 30 years. We have seen well-maintained systems in the Fox Valley area last up to 40 years. The key is keeping the gravel in place and the drains clear. The multi-ply construction provides “redundancy”—if the top layer develops a small hole, the layers underneath are still there to stop the water.
Can you walk on a tar and rock roof?
Yes, you can, but you should do so with caution. One of the biggest benefits of a tar and rock roof is its ruggedness. The gravel acts as a buffer, making it much harder to puncture than a single-ply membrane. However, you should wear soft-soled shoes and avoid “shuffling” your feet, which can grind the rocks into the bitumen. If you have heavy foot traffic, we highly recommend installing designated walk pads.
Is it better to repair or replace an aging BUR system?
If the leaks are isolated to one area (like a single vent or one corner), a repair is almost always the better financial move. However, if you are seeing “alligatoring” across the entire surface or if the roof feels “spongy” when you walk on it (a sign of wet insulation), you are likely throwing good money after bad by trying to patch it. A professional moisture survey can give you the data you need to make this decision.
Conclusion
A tar and rock roof is a workhorse of the commercial world. It’s tough, fire-resistant, and can last for decades if you treat it right. Whether you are in Madison, Green Bay, or over in Rochester, MN, the key to longevity is proactive maintenance and high-quality waterproofing when the first signs of aging appear.
At Yutzy Roofing Service, LLC, we specialize in helping commercial building owners avoid the “rip and replace” cycle. Our restoration coatings and professional repairs can often add 10 to 18 years of life to your existing roof, backed by our non-prorated renewable warranties. We’ve been serving Wisconsin—from Appleton to Wausau—for nearly 30 years, and we know exactly what these roofs need to survive our local climate.
If you’re worried about your roof or just want a professional set of eyes to take a look, don’t wait for the next big storm. For more detailed advice, check out our guide on how to maintain a tar and gravel roof or contact us today for a structural evaluation. We’re here to make sure your business stays dry, no matter what the Wisconsin weather throws at us!
