
Why a Leaking Rubber Roof Demands Immediate Attention
Knowing how to repair rubber roofing can save you thousands of dollars — and protect your commercial building from the kind of water damage that snowballs fast.
Here’s the quick answer:
- Inspect the roof for cracks, punctures, seam separation, and ponding water.
- Clean the damaged area thoroughly with an EPDM-compatible solvent.
- Prime the surface and let it dry until tacky.
- Cut an EPDM patch at least 2 inches larger than the damage on all sides, with rounded corners.
- Apply the patch and roll firmly with a steel roller to eliminate air pockets.
- Seal the patch edges with EPDM lap sealant for a watertight finish.
That’s the core process. But getting each step right — especially surface prep and material compatibility — makes the difference between a repair that lasts a decade and one that fails in a season.
EPDM rubber roofs are one of the most durable flat roofing systems available, typically lasting 20 to 30 years with proper maintenance. But Wisconsin’s harsh freeze-thaw cycles, heavy snow loads, and intense summer UV exposure push these membranes hard. Seams weaken. Membranes crack. Ponding water finds its way in. A surprising 65% of roof replacements happen simply because of roof leaks — many of which started small and were left unaddressed.
The good news? Many rubber roof leaks can be repaired without a full tear-off — if you catch them early and use the right materials.
I’m Josh Yutzy of Yutzy Roofing Service, LLC, and our family has been repairing and restoring commercial rubber roofs across Wisconsin since 1995 — so we know what it takes to repair rubber roofing correctly in demanding climates. In this guide, I’ll walk you through exactly how to do it.
Common Causes of Rubber Roof Damage
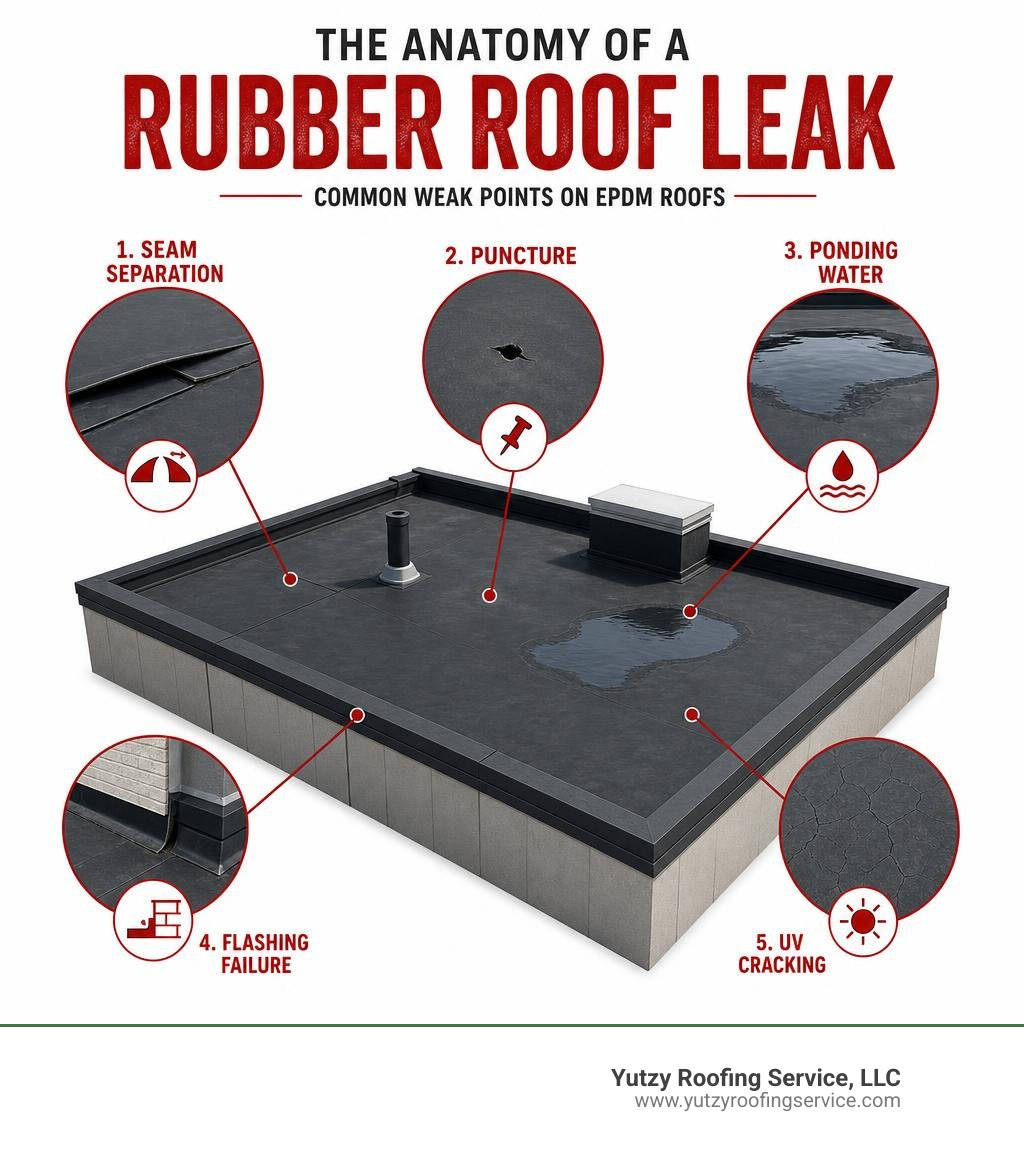
Before you can patch a leak, you need to understand what caused it. EPDM (Ethylene Propylene Diene Monomer) is exceptionally tough, but it isn’t completely invincible. Over our decades of restoring commercial flat roofs in places like Wausau, WI and Mankato, MN, we have found that most rubber roof issues stem from a few predictable culprits:
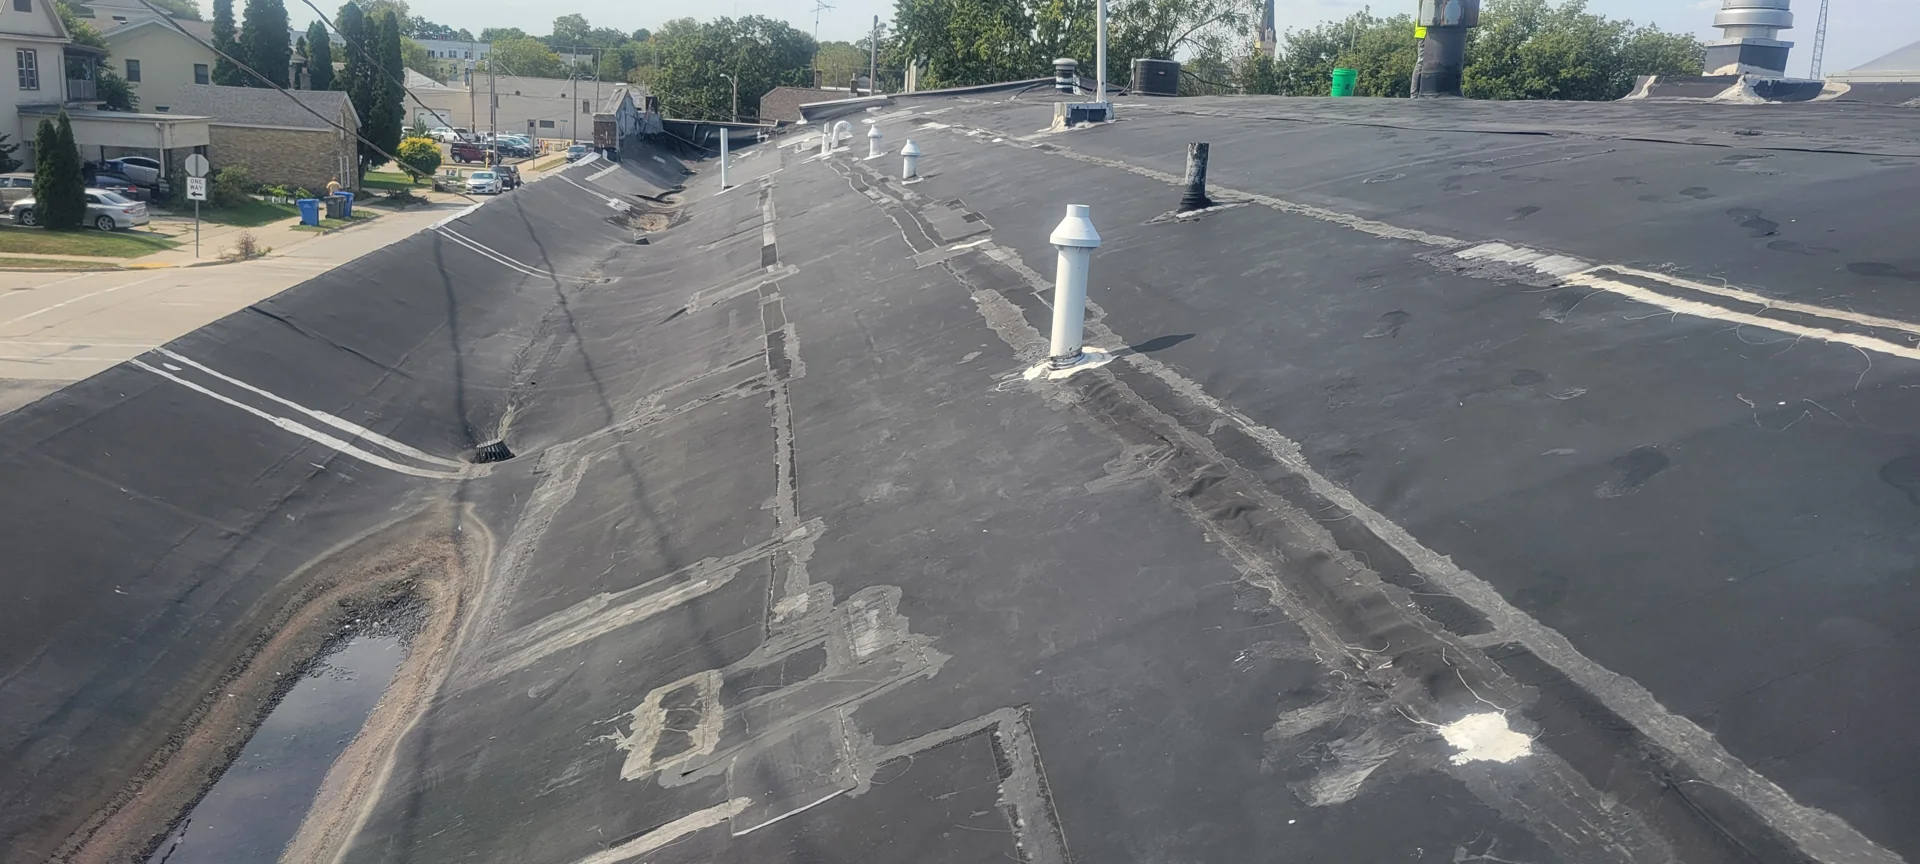
- Seam Separation: This is the single most common cause of flat roof leaks. EPDM sheets are bonded together using seam tape or liquid adhesives. Over time, constant thermal expansion and contraction (especially during wild Wisconsin spring temperature swings) weaken these adhesives, causing the seams to pull apart.
- UV Degradation: Even though EPDM is highly UV-resistant, decades of intense solar exposure can eventually dry out the membrane. This leads to shrinkage, chalking, and micro-cracking along the surface.
- Ponding Water: Flat roofs are rarely completely flat; they rely on a slight slope to shed water. When drains clog or the substrate sags, water ponds on the surface. Standing water places constant hydrostatic pressure on the seams, eventually finding even the microscopic pathways through the adhesive.
- Punctures and Tears: Dropped tools, wind-blown debris, and even sharp-clawed birds can puncture the rubber membrane. If your low-slope roof has heavy foot traffic from HVAC technicians, the risk of punctures skyrockets.
If you are dealing with localized damage or failing seams in Minnesota, learning How to Master EPDM Membrane Repair in Rochester is a great way to understand the regional challenges of low-slope roof maintenance before diving into the work.
How to Repair Rubber Roofing: A Step-by-Step Guide
Repairing an EPDM roof is highly systematic. If you skip a step, the patch will peel off, and you will be right back up on the roof with a bucket of soapy water looking for the leak again.
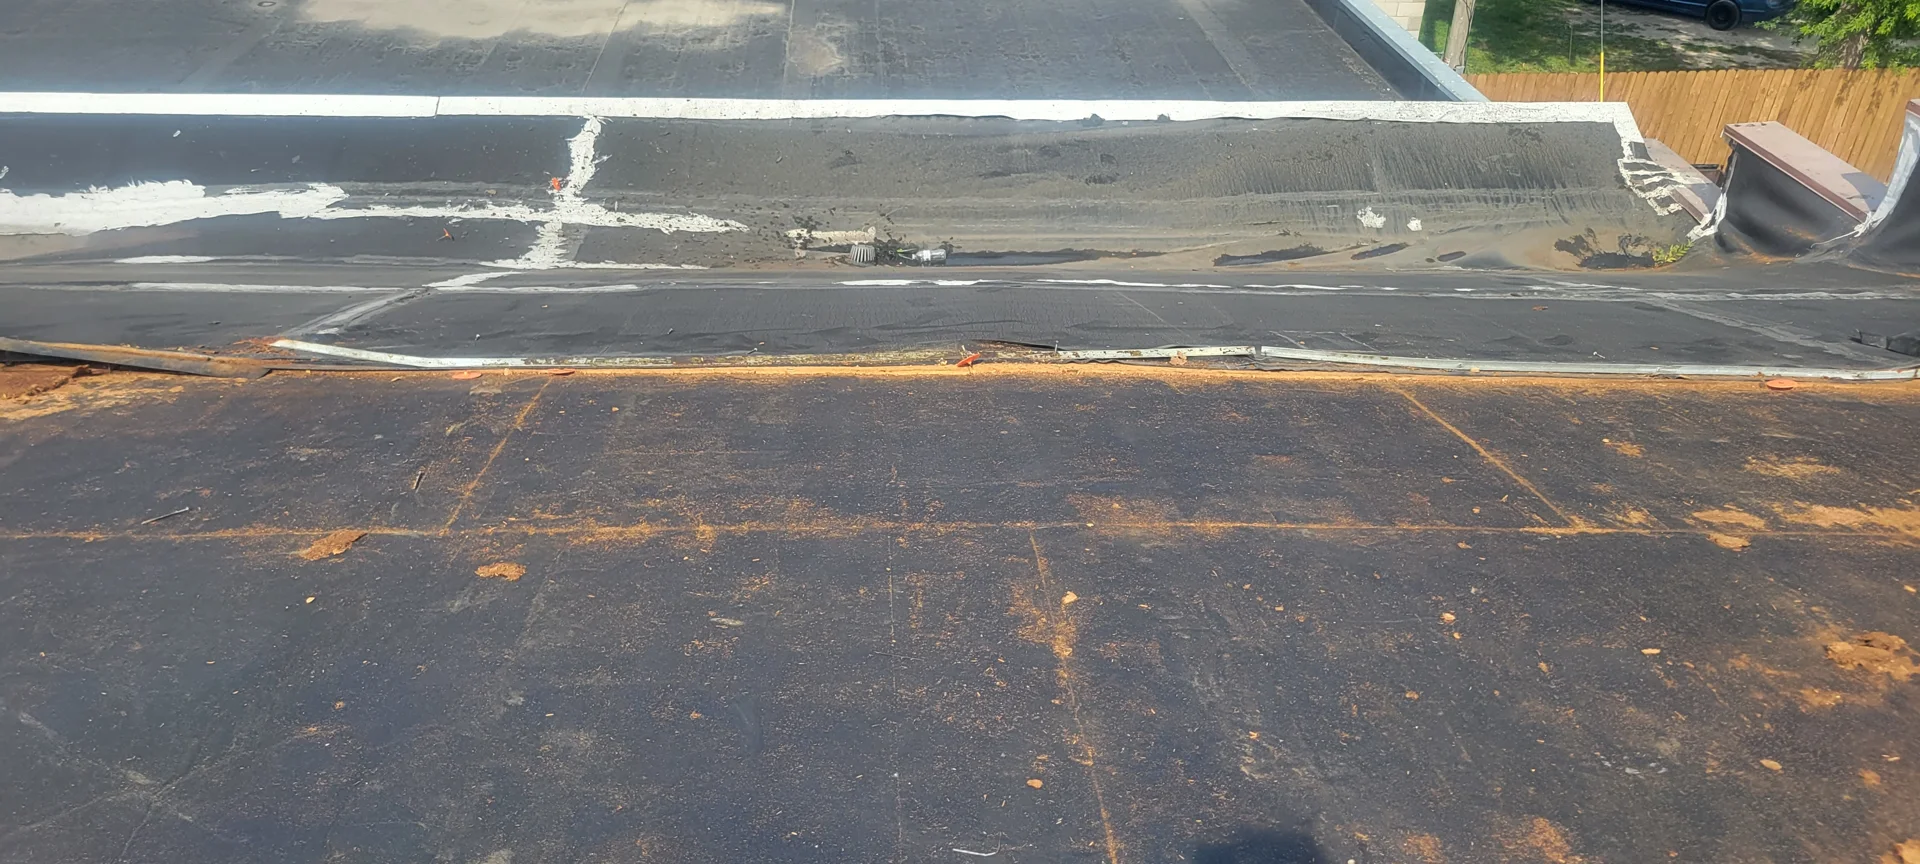
The secret to a permanent fix lies in understanding the chemistry of EPDM. When synthetic rubber is exposed to the air, it develops a thin carbon film on its surface due to oxidation. This film acts as a release agent. If you try to stick a patch directly onto an uncleaned, unprimed membrane, the adhesive will bond to the loose carbon dust rather than the actual rubber. Within a few months, your patch will bubble and pull away.
To avoid this, follow our proven approach to how to repair rubber roofing properly.
For a detailed breakdown of this process, check out our guide on How to Repair Rubber Roofing in 6 Easy Steps to make sure you have every detail covered.
Essential Tools and Materials for How to Repair Rubber Roofing
Before climbing the ladder, gather your gear. Having the right tools on hand prevents mistakes and keeps you safe.
- EPDM Patch Material: You can use pressure-sensitive (self-adhesive) EPDM patches or raw EPDM membrane combined with contact adhesive.
- EPDM Primer: Essential for preparing the surface and activating the rubber’s chemical bonding properties.
- EPDM Membrane Cleaner: A specialized, residue-free solvent designed to strip away dirt and carbon film.
- Steel Seam Roller: This is non-negotiable. You need a heavy roller to press out air bubbles and activate the pressure-sensitive adhesive.
- Heavy-Duty Shears or Utility Knife: For cutting the patch cleanly.
- EPDM Lap Sealant: A specialized caulk used to seal the edges of the patch.
- Clean Rags: For scrubbing the surface (avoid rags that shed fibers easily).
- Chalk or Tape: To mark the damaged areas during your initial inspection.
If you are unsure which products to buy, take a look at our curated list of the Top Products to Fix Your Leaky Rubber Roof to ensure you are buying commercial-grade materials that actually last.
Preparing the Surface and Applying the Patch
Once you have your tools, it is time to perform the actual repair. Work on a dry, calm day when temperatures are above 40°F (preferably above 50°F) so the adhesives can cure properly.
- Clean the Area: Scrub the damaged area with your EPDM membrane cleaner and clean rags. You must remove all dirt, grease, and the gray/black carbon oxidation film. The surface should look matte black and feel completely clean to the touch. Let it dry completely.
- Apply the Primer: Pour a small amount of EPDM primer onto the cleaned area. Use a scrub pad or a paint roller to spread a thin, even layer. Make sure the primed area extends at least 3 inches beyond where the edges of the patch will sit. Let the primer dry until it is tacky but does not transfer to a clean finger when touched.
- Cut the Patch: Cut your EPDM patch material so that it extends at least 2 to 3 inches beyond the damaged area on all sides. Crucial Tip: Always round the corners of your patch! Square corners have sharp 90-degree angles that easily snag on debris, snow shovels, or foot traffic, causing the patch to peel. Rounded corners distribute physical stress evenly.
- Install the Patch: If using a pressure-sensitive patch, peel back the film backing carefully. Lay the patch over the damaged area, starting from one side and rolling it down to avoid trapping air. If you are using a glue-down patch, apply EPDM bonding adhesive to both the patch and the primed roof surface, wait for it to become tacky, and then press them together.
- Roll the Patch: Use your steel seam roller to roll the patch firmly. Start from the center and roll outward toward the edges in multiple directions. This pressure activates the adhesive and expels any trapped air pockets.
Sealing the Edges to Prevent Future Leaks
Applying the patch is only 90% of the job. To ensure a truly watertight seal, you must protect the exposed edges of the patch from water infiltration.
Once the patch is rolled down, apply a heavy bead of EPDM lap sealant (also known as edge caulk) around the entire perimeter of the patch. Use an old plastic tool, like a putty knife or an old credit card, to smooth the bead flat against the seam, ensuring it bridges the transition from the patch to the main roof membrane. This creates an impenetrable barrier that prevents water from getting underneath the patch edges if ponding water occurs.
For a deeper dive into managing seams and perimeter flashing, read our step-by-step manual, Patching Things Up: A Guide to EPDM Flashing and Seam Repair.
Choosing the Right Repair Materials: What to Use and Avoid
When it comes to how to repair rubber roofing, material compatibility is everything. EPDM is a highly specific synthetic rubber that relies on chemical bonding to create a watertight seal. If you use the wrong products, you can easily destroy the membrane.
| Feature | Pressure-Sensitive EPDM Patches | Glue-Down EPDM Patches |
|---|---|---|
| Ease of Application | Very High (Peel-and-stick backing) | Moderate (Requires separate contact adhesive) |
| Required Tools | Primer, roller, shears | Primer, roller, brush, adhesive, shears |
| Cure Time | Immediate bond | Requires drying time until tacky |
| Best For | Small punctures, quick emergency fixes | Large-scale repairs, structural patches |
| Longevity | 5 to 10+ years (when primed correctly) | 5 to 10+ years (highly durable bond) |
If you are weighing your options between spot-patching and applying a broader protective coating over the entire surface, read our comparison guide: Rubber Roof Sealant vs Coating: Which One Wins.
Why You Must Avoid Tar-Based Products
If there is one golden rule of rubber roofing, it is this: Never, ever use asphalt or tar-based products on an EPDM roof.
This includes standard black plastic roof cement, asphalt primers, and aluminum coatings. EPDM is chemically incompatible with petroleum and asphalt. When tar comes into contact with synthetic rubber, a chemical reaction occurs. The petroleum solvents in the tar will dissolve the binders in the EPDM, causing the rubber to swell, bloat, crinkle, and eventually turn into a gooey, liquefied mess.
Once an EPDM roof is contaminated with tar, you cannot simply wipe it off or patch over it. The tar will continue to corrode any new rubber placed on top of it. The only way to fix tar damage is to cut out the entire contaminated section of the roof, replace the underlying substrate if it is damaged, and install a brand-new piece of EPDM.
When to Call a Professional for How to Repair Rubber Roofing
While a small puncture or a minor seam separation can be handled as a DIY project, there are times when attempting a self-repair is risky. You should call in a professional commercial roofing contractor if you encounter any of the following:
- Saturated Substrate: If water has been leaking through the EPDM for a long time, the insulation board or wood decking beneath the membrane may be rotted or waterlogged. Patching the rubber on top will trap the moisture, leading to mold, structural sag, and eventual deck failure.
- Widespread Seam Failure: If seams are lifting across large sections of your roof, it is a sign that the original adhesive has reached the end of its lifespan. Spot-patching will feel like playing whack-a-mole.
- Large-Scale Tears or Shrinkage: If the membrane has pulled away from the parapet walls or perimeter edges (a common issue called “tenting”), the roof requires professional tension relief and flashing reconstruction.
- Safety Concerns: Commercial low-slope roofs often feature high heights, complex access, and heavy equipment. If you are not fully comfortable working at heights with proper safety gear, leave it to the experts.
If you decide that a professional touch is needed, it is best to partner with an experienced commercial roofing contractor who understands the unique climate challenges of the Midwest, ensuring your roof is restored safely and effectively.
Frequently Asked Questions About Rubber Roof Repair
How long do rubber roof repairs typically last?
A properly executed patch using commercial-grade EPDM materials, correct primer, and a steel roller can easily last 5 to 10 years or more. The key factor is the quality of your surface preparation. If the carbon film was not thoroughly cleaned off, the repair may fail within a single season.
Can I repair a rubber roof in cold weather?
It is highly challenging. Most EPDM primers, adhesives, and lap sealants require temperatures above 40°F to 50°F to flow and cure properly. In freezing temperatures, the rubber membrane loses its flexibility, and the adhesives cannot form a secure chemical bond. If an emergency repair is required in winter, the membrane must be carefully warmed with a heat gun before applying specialized cold-weather patches.
What is the difference between EPDM and TPO repairs?
While both are popular low-slope roofing membranes, EPDM is synthetic rubber, whereas TPO (Thermoplastic Polyolefin) is a blend of polypropylene and ethylene-propylene rubber. EPDM is repaired using chemical adhesives, primers, and tape patches. TPO, on the other hand, is a thermoplastic that must be repaired using hot-air welding tools to fuse the patch to the membrane. You cannot use EPDM repair materials on a TPO roof, or vice versa.
Conclusion
Knowing how to repair rubber roofing is an invaluable skill for any commercial property owner. By catching leaks early, keeping your roof clean, and using EPDM-compatible materials, you can easily extend the lifespan of your flat roof and protect your investment.
However, if your commercial roof is reaching the end of its 20-to-30-year lifespan, or if you are tired of dealing with constant leaks, spot-patching may no longer be enough.
At Yutzy Roofing Service, LLC, we specialize in commercial roof restoration, high-performance spray foam coatings, and EPDM repairs across Wisconsin (including Marshfield, Madison, Appleton, Green Bay, Eau Claire, Fond Du Lac, and Wausau) and southern Minnesota (Mankato and Rochester). Instead of an expensive, disruptive roof tear-off, we can often apply a seamless silicone or butyl rubber coating system that seals all leaks, improves energy efficiency, and comes with an up to 18-year non-prorated renewable warranty.
Our Top Preventive Maintenance Tips for Commercial Rubber Roofs:
- Inspect the Roof Twice a Year: Walk your roof in the spring (after the winter freeze) and in the fall (before the snow hits) to check for separated seams and punctures.
- Keep Drains Clear: Ensure that leaves, dirt, and debris are cleared from drains and scuppers to prevent water ponding.
- Trim Overhanging Branches: Wind-blown branches can scrape and puncture EPDM membranes. Keep trees trimmed back from your roofline.
- Limit Foot Traffic: Restrict access to your low-slope roof, and ensure any HVAC technicians working on the roof use designated walkways or protective mats.
Ready to secure your building with a long-term, worry-free solution? Restore Your Commercial Roof Today with our professional restoration services. We’ll help you reinforce your EPDM system and stop leaks for good!
