
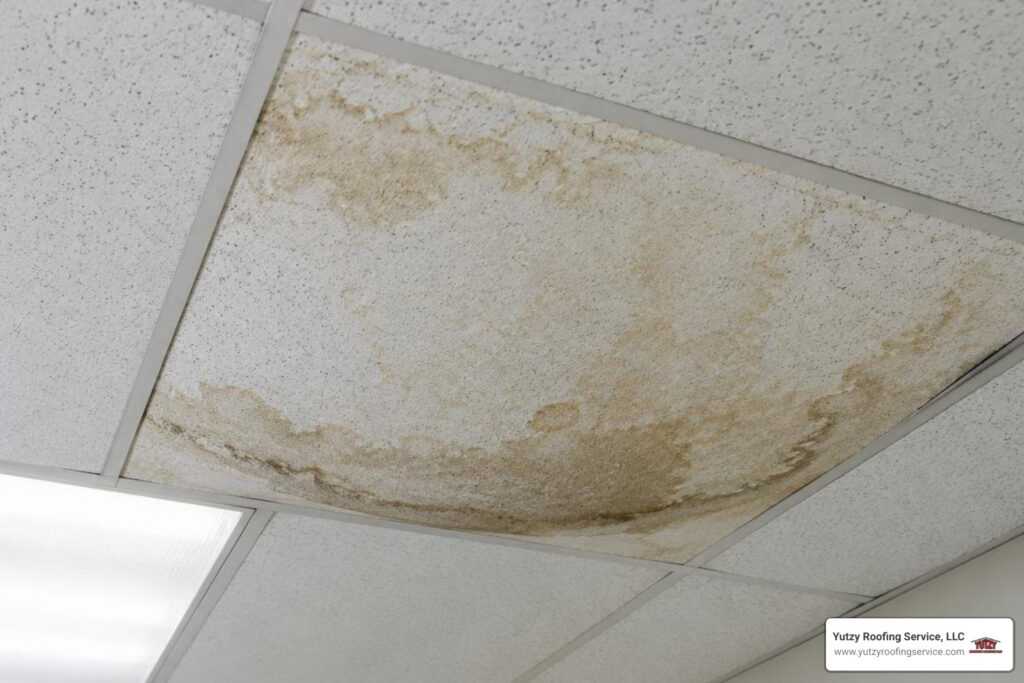
How to Fix a Ceiling Water Stain Without Hiding a Leak
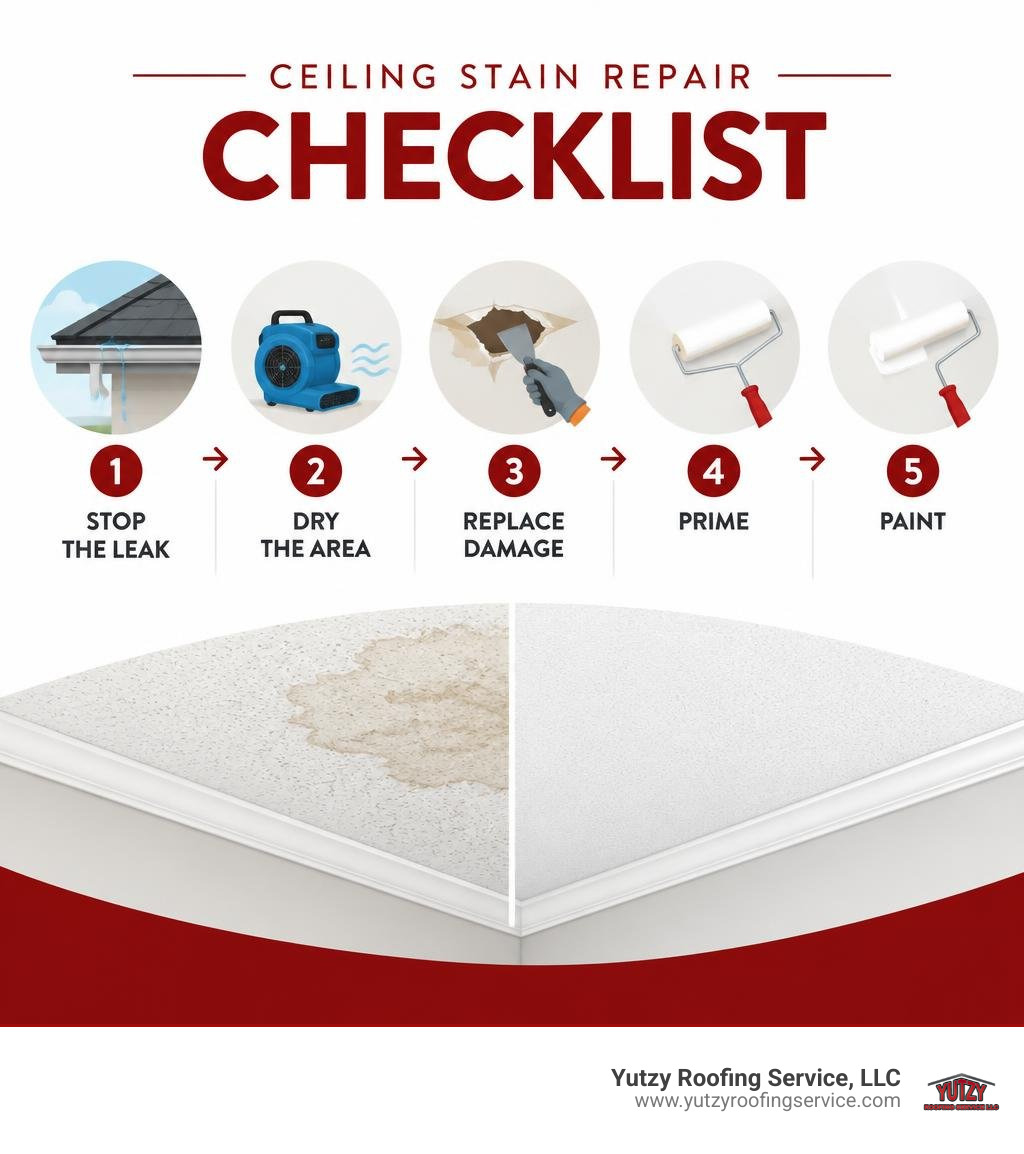
Fix the source of the water before covering the stain. Once the ceiling is fully dry, replace any soft or sagging material. If it is still firm, clean the area, apply a stain-blocking primer, and repaint. A stain that grows, feels damp, or smells musty needs more than a paint job.
I’m Josh Yutzy with Yutzy Roofing Service, LLC. Our family roofing business has served Wisconsin since 1995, and I bring that roof-leak perspective to ceiling water stain repair.
Key ceiling water stain repair vocabulary:
Comprehensive Guide to Ceiling Water Stain Repair
Water discoloration on a ceiling is never just a cosmetic annoyance; it is a clear symptom that liquid intruded from above. Slapping a fresh coat of standard latex paint directly over an ugly ring might make the room look better for a few days, but the mineral salts and tannins will bleed right back through. Understanding the causes of ceiling water discoloration ensures you solve the actual failure before picking up a drywall saw.
Diagnosing the Moisture Source Before Ceiling Water Stain Repair
Water rarely travels in a straight vertical line. Liquid entering a commercial roof membrane or upper-level utility space can run along joists, pipes, and electrical conduit before pooling on drywall or acoustic tiles.
Common culprits behind ceiling spots include:
- Plumbing failures: Supply lines, drain pipes, and fixtures located on upper floors.
- HVAC issues: Clogged condensate drain lines or uninsulated ductwork sweating during humid Wisconsin summers.
- Roof and building envelope defects: Punctured commercial membranes, failed flashing around rooftop HVAC units, and deteriorated parapet walls.
Before starting interior repairs, maintenance teams should focus on identifying commercial roof leaks. You can track water paths and find and resolve roofing leaks by inspecting wet attic insulation, overhead structural decking, and exterior roof penetrations.
Identifying Active Leaks and Mold Risks
To determine whether a mark is an old scar from a resolved issue or an active intrusion, perform a simple physical assessment. Press gently against the center of the stain:
- If the drywall feels soft, spongy, or leaves an indentation, moisture is actively pooling.
- If the drywall feels firm and dry, trace the outer perimeter lightly with a pencil. If the discoloration expands past that line after the next rainfall, the leak remains active.
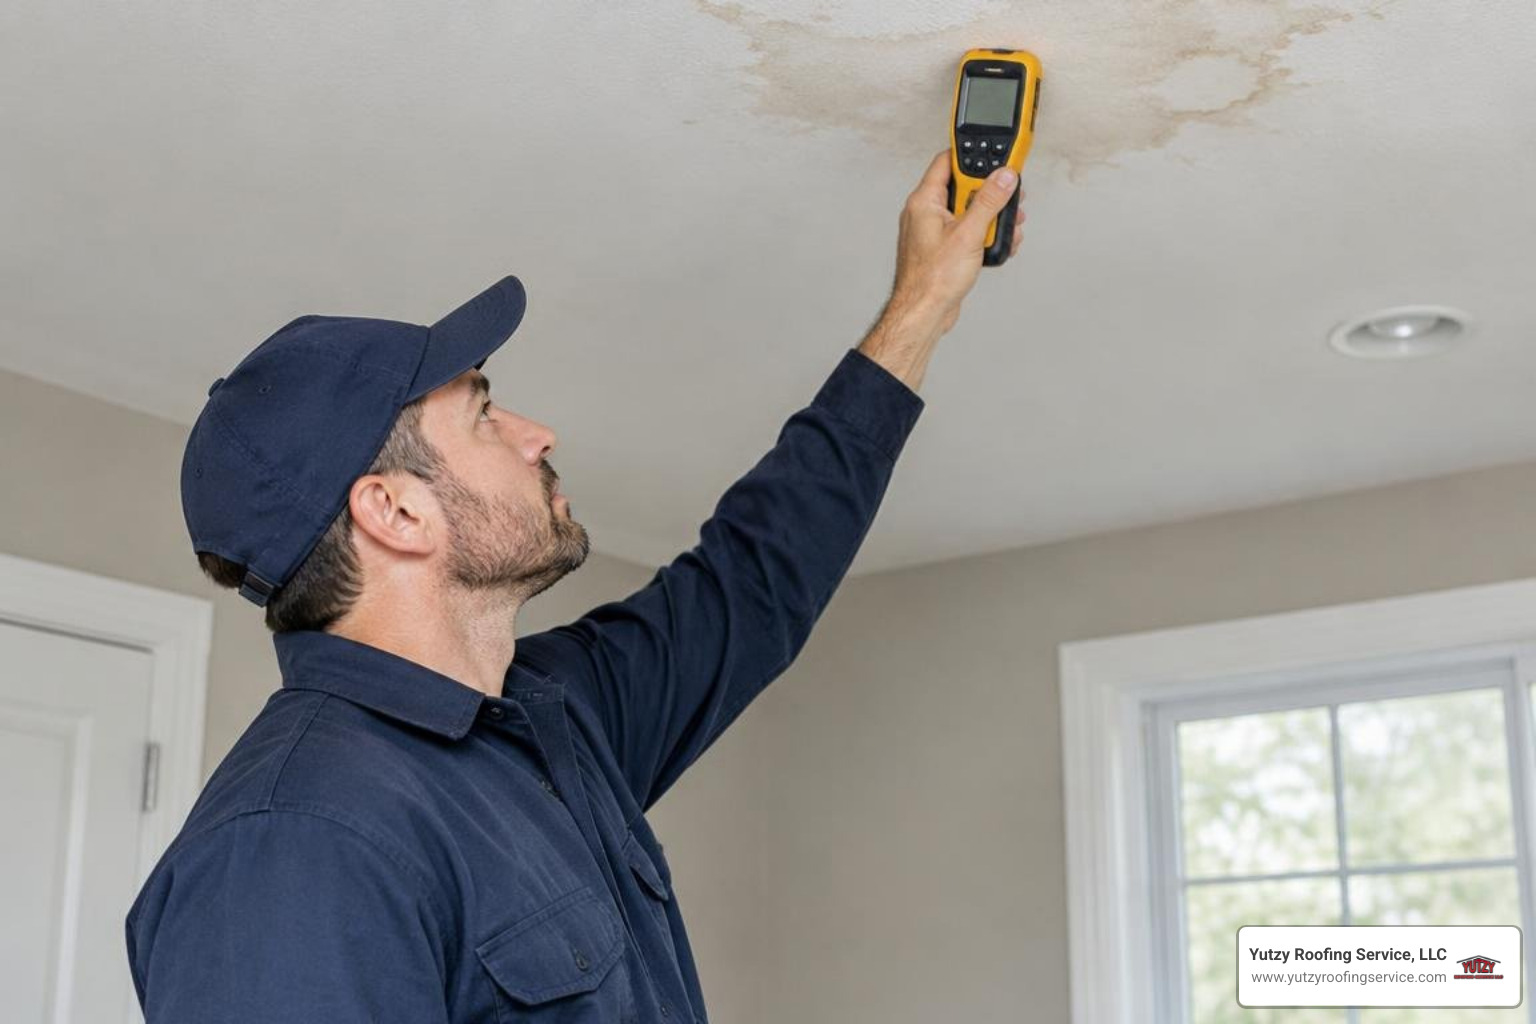
For definitive verification, use a pinless moisture meter. A moisture reading above 20 percent in wood framing or structural materials indicates elevated water levels that will trigger decay and fungal development.
Microbial growth begins quickly. Building materials that dry out within 24 to 48 hours of getting wet generally will not support mold growth, but surfaces remaining damp beyond 48 hours present serious contamination risks. The Environmental Protection Agency (EPA) draws the do-it-yourself cleanup line at 10 square feet (roughly a 3-foot by 3-foot patch). If your ceiling exhibits dark, velvety patches, fuzzy textures, or a distinct musty odor exceeding this threshold, follow professional remediation protocols rather than disturbing the surface yourself.
Step-by-Step Ceiling Water Stain Repair Process

Once you confirm the overhead leak is resolved and the substrate is completely dry, you can safely restore the surface. In cases of minor discoloration on textured surfaces, cleaning water stains without repainting using a mild bleaching or vinegar wipe-down may lighten light mineral marks. However, a durable fix requires a complete prep, seal, and finish.
Required Tools and Materials:
- Safety glasses, dust mask, and nitrile gloves
- Drop cloths and painter’s tape
- Sponge and cleaning bucket
- Household bleach or trisodium phosphate (TSP) alternative
- Drywall joint compound and putty knife
- Sanding block (120- to 150-grit)
- Oil-based or shellac-based stain-blocking primer (such as Zinsser BIN or Kilz Original)
- Flat ceiling paint and roller setup
Execution Steps:
- Clean the Surface: Mix one cup of bleach with three cups of warm water. Gently wipe the discolored area with a damp sponge to eliminate surface mildew, grease, and loose mineral salts. Let the area dry thoroughly.
- Patch Damaged Drywall: Scrape away flaking paint. If small gouges or screw pops exist, apply a thin layer of drywall joint compound with a putty knife. Allow it to cure, then sand it flush with a fine sanding block.
- Seal with Stain-Blocking Primer: Never apply standard latex primer directly over water damage. Apply an oil-based or shellac-based primer, extending the coating at least 6 inches beyond the visible edges of the stain. Allow 2 hours of drying time.
- Apply Finish Paint: Roll on two coats of flat ceiling paint, feathering the edges outward into the surrounding field to blend the sheen smoothly.
Repair Costs and Material Comparisons
Interior restoration pricing depends directly on structural degradation and moisture duration.
| Damage Level | Description | Typical Cost Range |
|---|---|---|
| Class 1 Intrusion | Minimal water extraction, fast drying of intact drywall | $150 – $500 |
| Patch & Repaint | Drywall firm, requiring stain-blocking primer and topcoat | $450 – $1,600 |
| Drywall Replacement | Saturated or sagging drywall section removal and hang | $300 – $850 |
| Mold Testing | Professional air quality and cavity moisture inspection | $450 – $800 |
| Mold Remediation | Containment and removal of affected materials | $1,100 – $3,400 |
That internal fixes address only half the equation. Factoring in the cost of commercial roof leak repairs ensures you budget properly for the underlying building envelope repair.
When to Hire Professionals and Long-Term Prevention
Certain warning signs indicate that cosmetic DIY approaches are unsafe:
- Bulging or sagging drywall: Trapped gallons of pooled water create a collapse hazard that can pull down surrounding ceiling framing.
- Stains near light fixtures or electrical junction boxes: Water tracking into wiring poses severe shock and fire hazards; switch off breakers immediately.
- Contamination exceeding 10 square feet: Requires certified containment under IICRC S500/S520 guidelines.
Long-term protection requires stopping water before it touches your ceiling assembly. Commercial facility managers should implement scheduled roof inspections twice annually, maintain scuppers and internal drains, and address failing membranes promptly.
At Yutzy Roofing Service, LLC, we help commercial building owners across Wisconsin—including Marshfield, Appleton, Eau Claire, Fond Du Lac, Green Bay, Madison, and Wausau—as well as Mankato and Rochester, Minnesota. We provide specialized commercial roof restoration, spray foam insulation, and EPDM repair backed by renewable warranties up to 18 years.
Explore our proactive roof leak repair strategies to secure your commercial facility against costly moisture intrusion.
